How to Connect WordPress With EmailOctopus
MailOptin offers a seamless integration with EmailOctopus email marketing service. Follow the step by step guide below to learn on how to connect MailOptin with your EmailOctopus account.
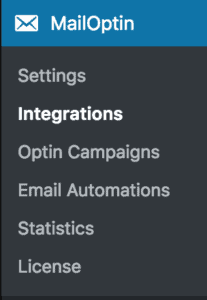
- Go to the Integrations settings page by either clicking the sidebar menu link or top menu tabs.
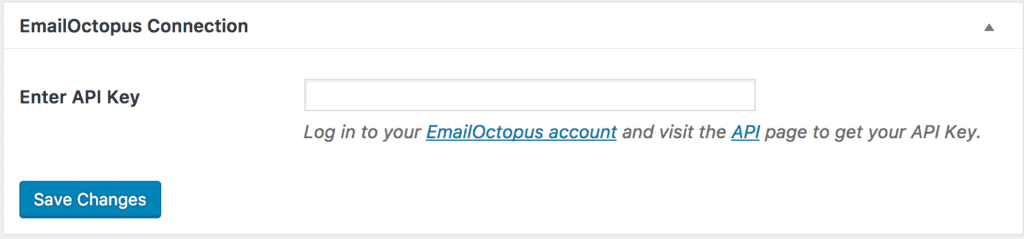
- At the EmailOctopus Connection section, click the EmailOctopus account link beneath the API key text field to login to your account.
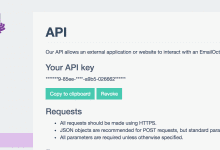
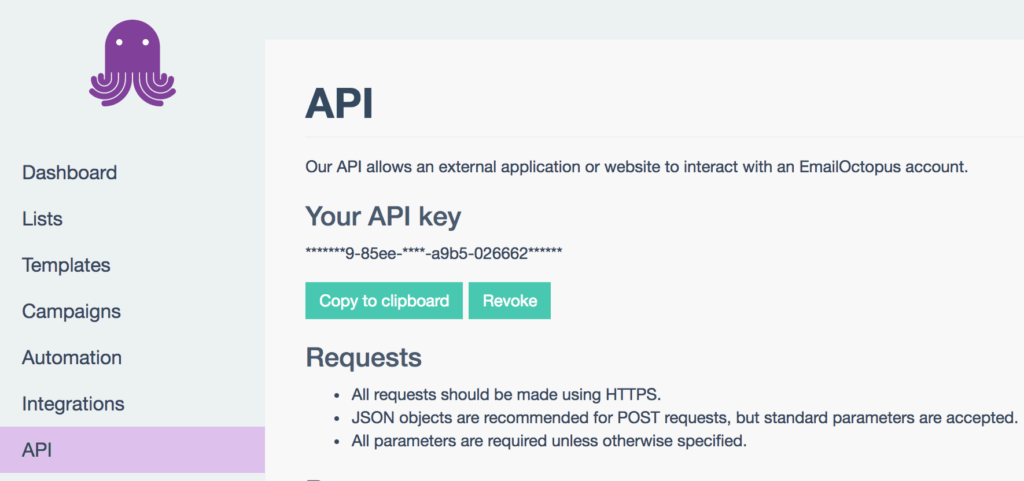
- After logging in, go to the API page. There you will find your API key.
- Copy your EmailOctopus API key, paste it in the field labelled “Enter API Key” and finally hit the “Save Changes” button to save.
Having completed the set up, you can now start capturing leads.