How to Send Emails to All Registered WordPress Users
If you allow user registration on your WordPress site, then you may be automatically adding registered users to your email list as well.
In case you are not adding your registered users to an email list, or your email list is not segmented, then you would need an alternative solution to send a mass email to all registered users.
One of the many features MailOptin provides is to allow you to send emails to your email marketing list subscribers. In addition, you can also bulk email all or selected registered users in WordPress.
Creating the Email Message
To send an email to registered users, follow these steps:
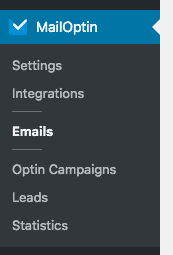
First of all, navigate to the Emails sub-menu under the MailOptin Menu in your WordPress Dashboard
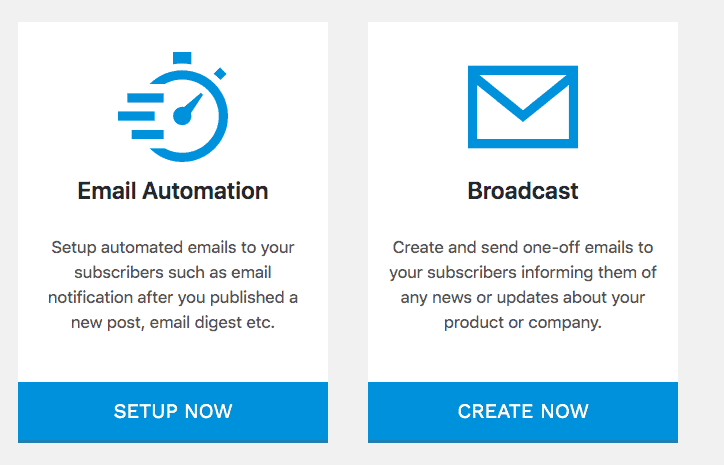
Click on Add New Button, then create a new Broadcast
Enter the subject title and select the template you wish to use. You can also design your template by choosing ‘Code Your Own.’
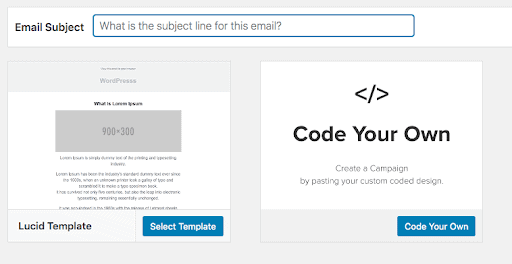
We would choose the Lucid Template and name our newsletter’ Test Broadcast’. This would open the customizer, where you can edit or customize the email.
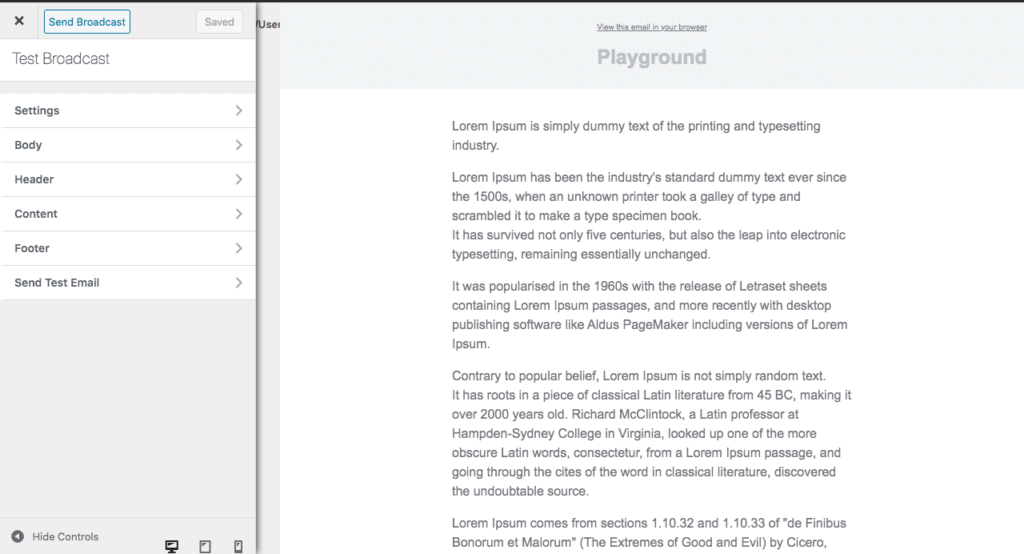
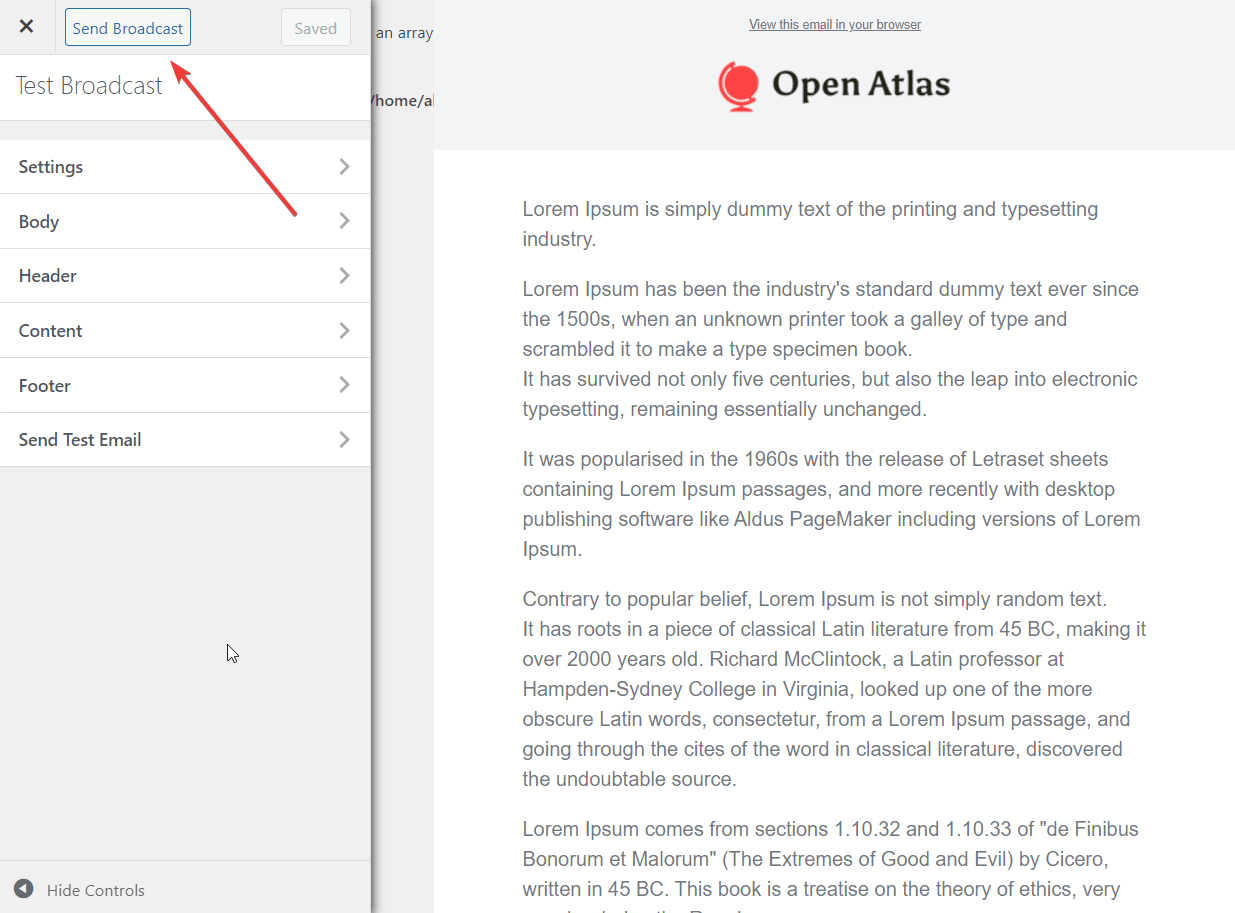
In the customizer, you will find the following options: Settings, Body, Header, Content, Footer, and Send Test Email.
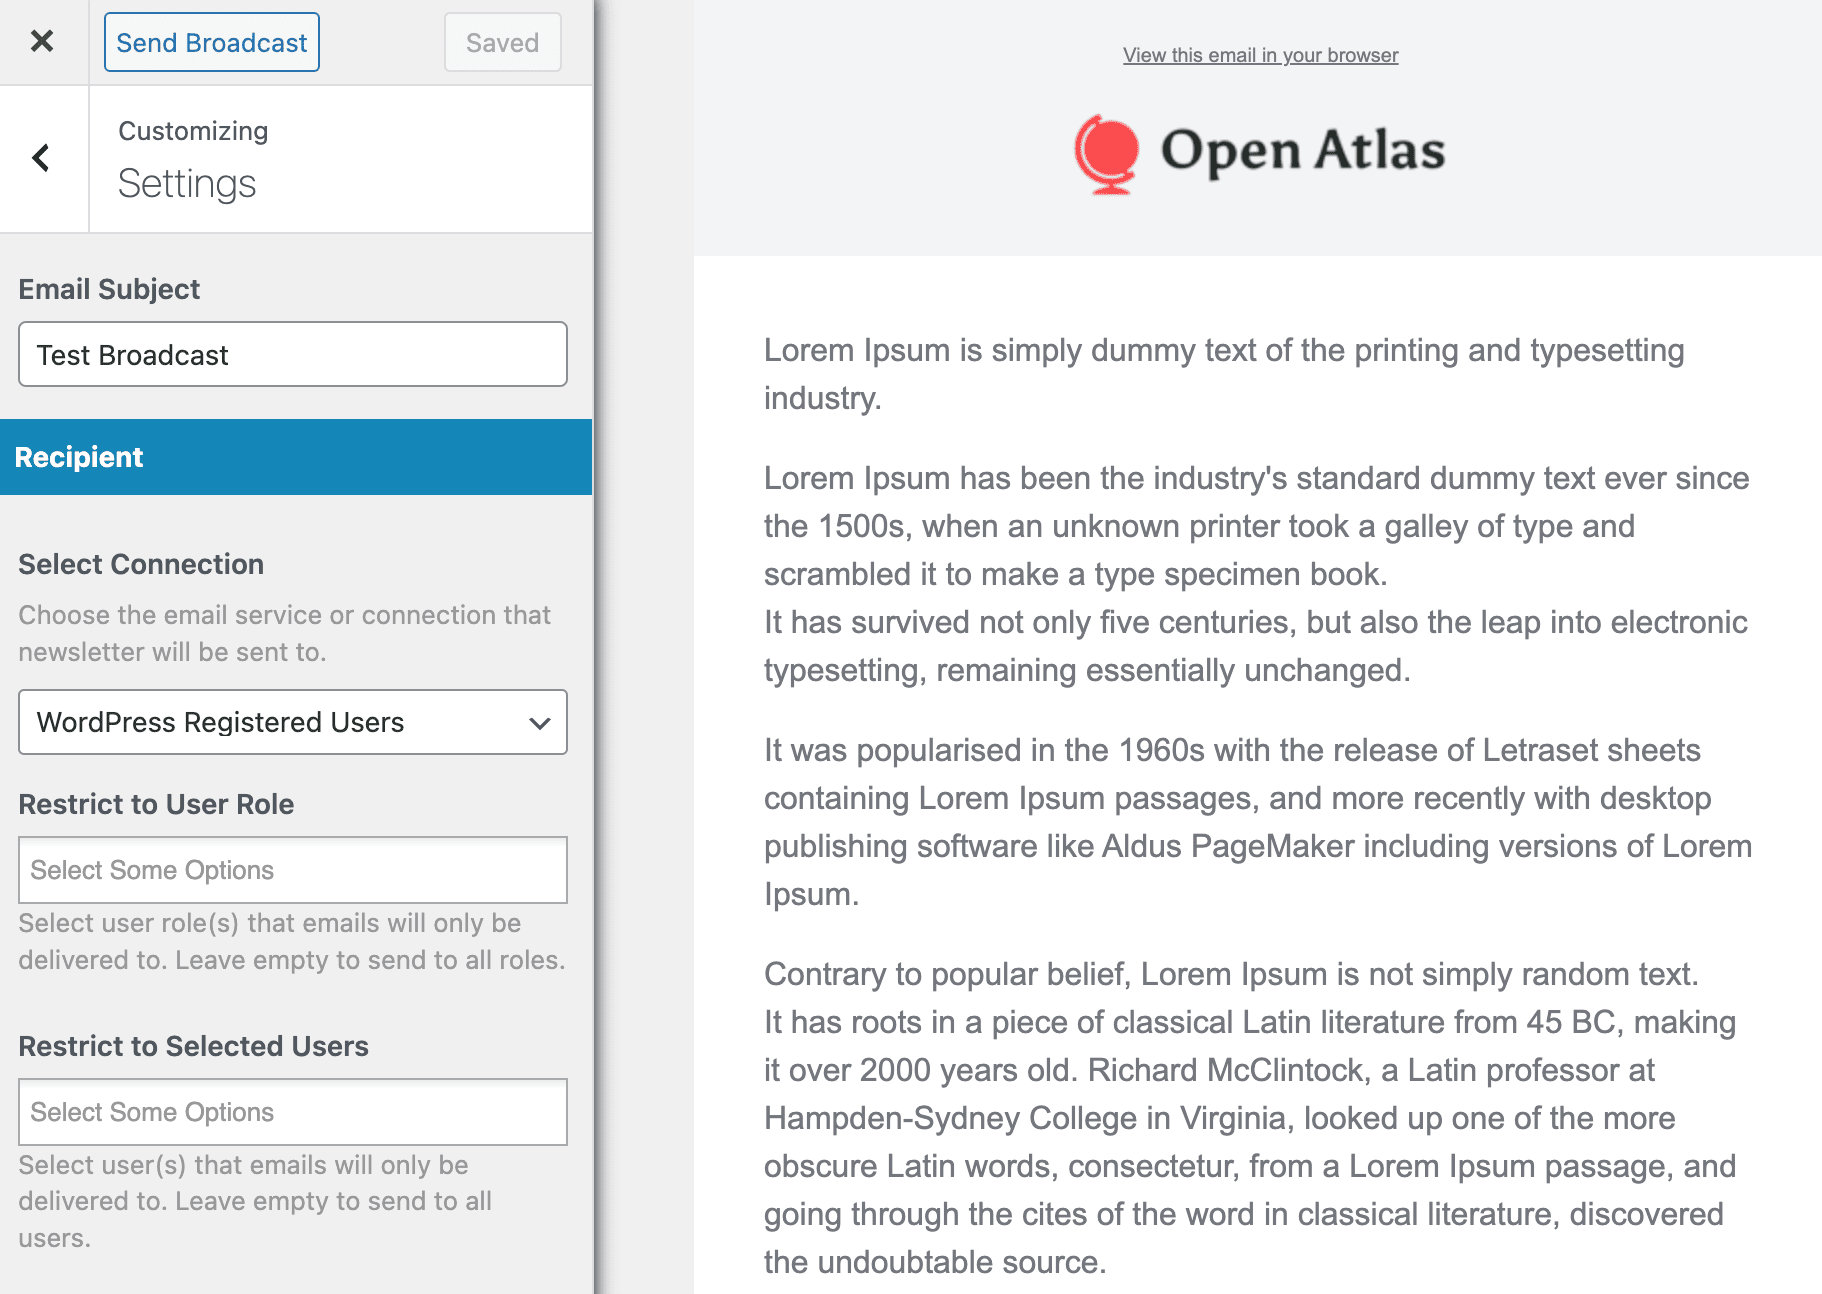
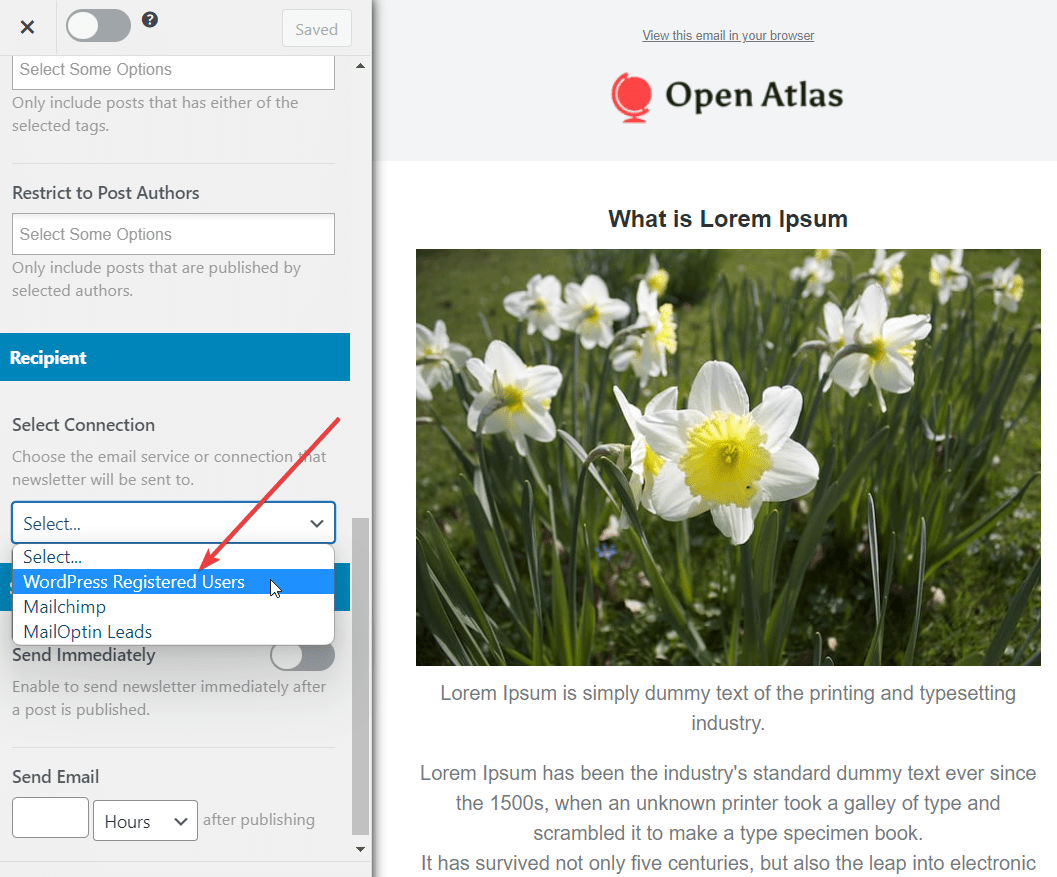
Settings: Under this option, you get to modify the email’s subject. You will also be able to connect the email with users to whom you want to send the email. Since you want to send emails to WordPress users, select WordPress registered users from the dropdown menu, as shown in the image below.
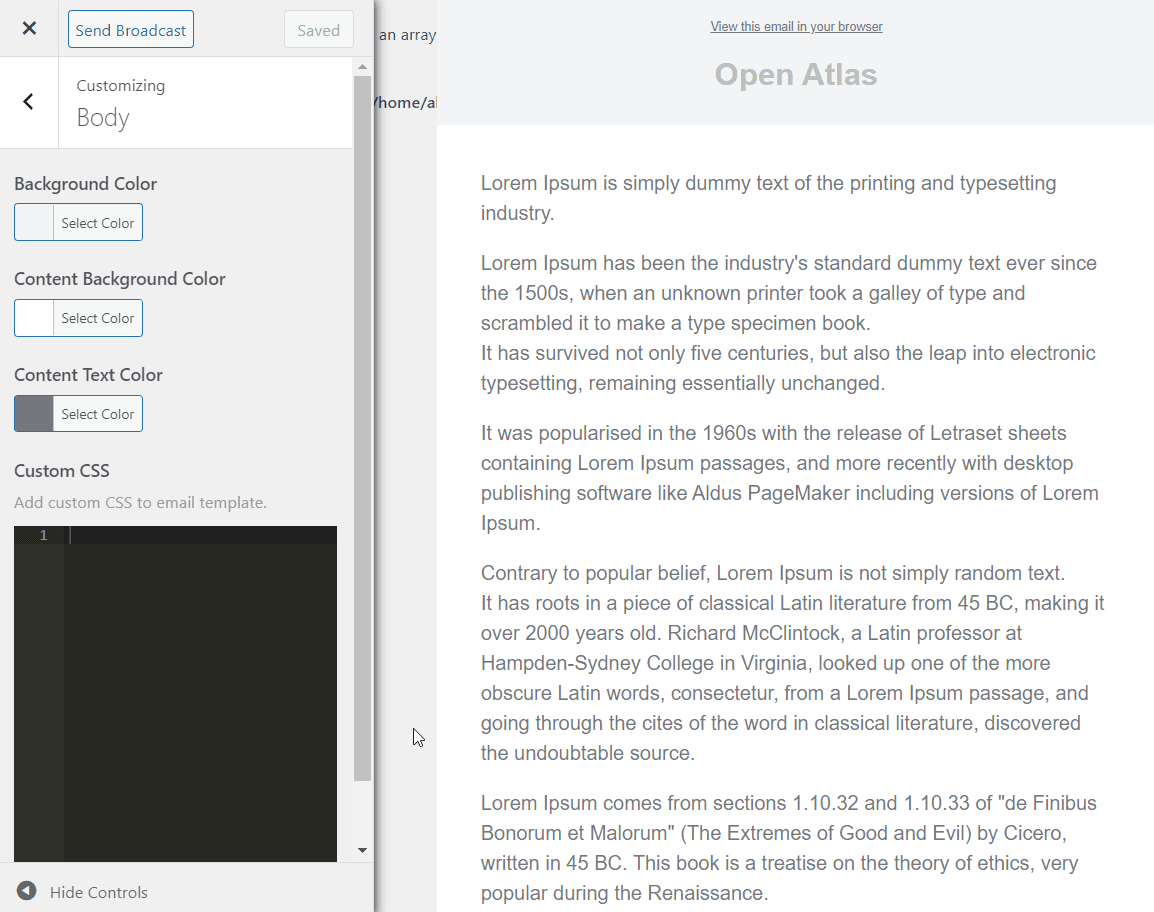
Body: With this option, you get to change the look of the email template. You can modify the background color, content background color, and text color. You can also add custom CSS to the email template.
Header: The header allows you to set an image that appears on top of your email. But if you want, you also have the option to remove the header.

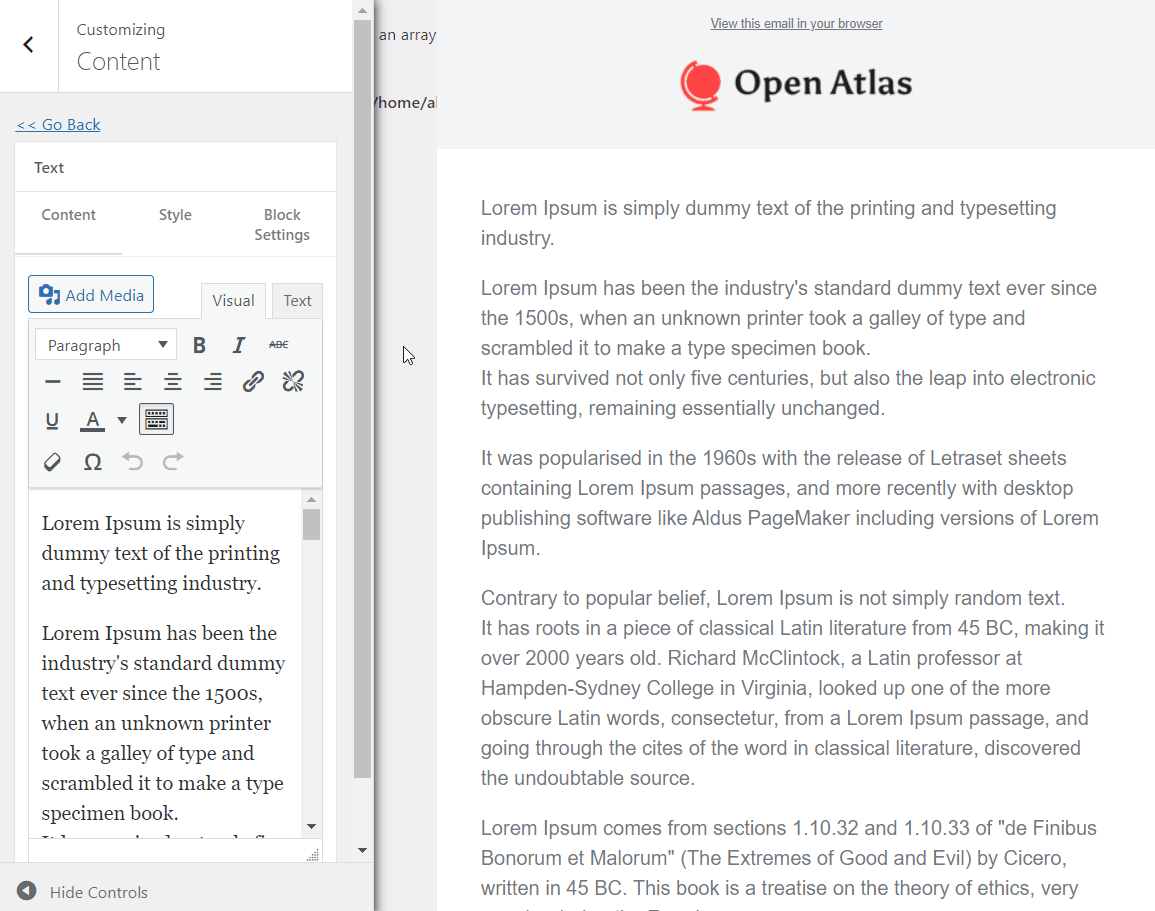
Content: This option is self-explanatory. It’s worth noting that it’s the Content option. You can also change the style (i.e., font family and size) and block settings (i.e., padding of the content).
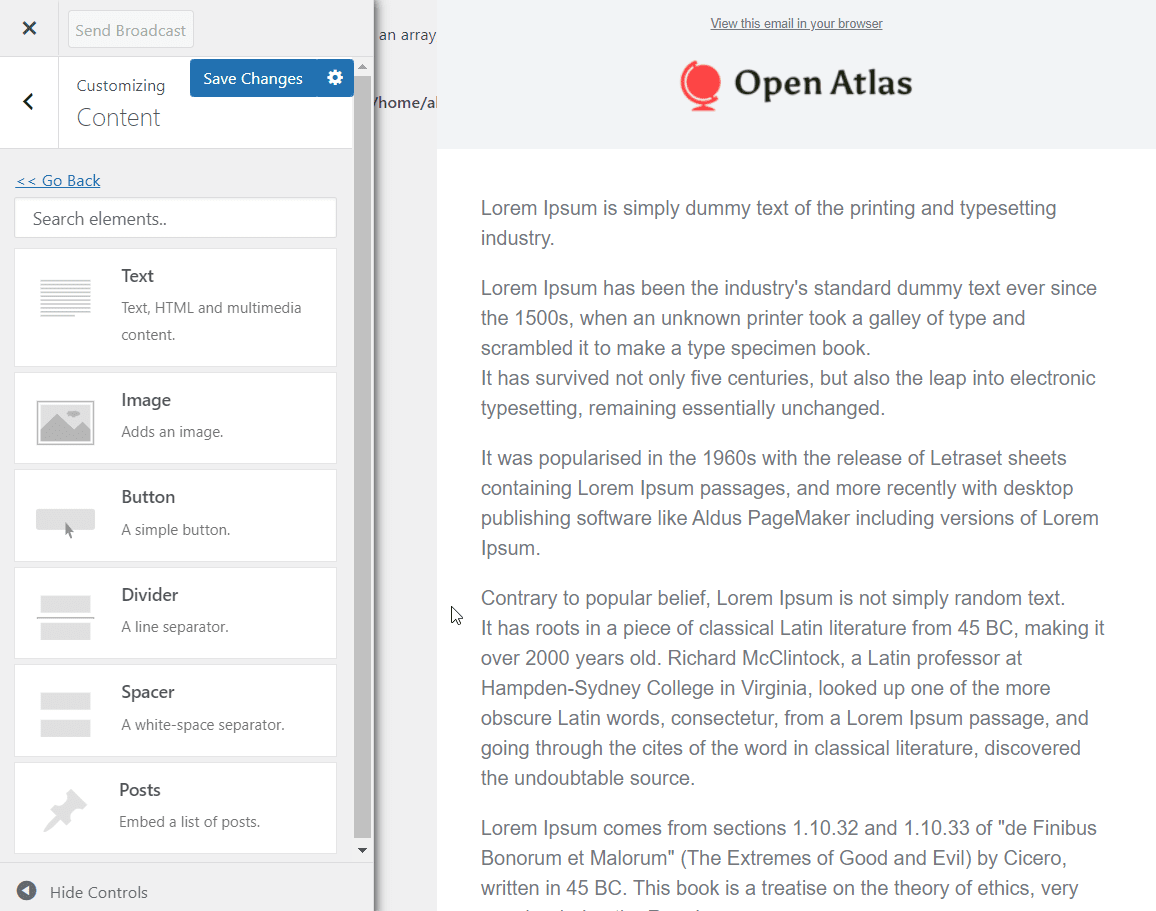
Moreover, you can add new elements like images, buttons, divider, spacer, etc.
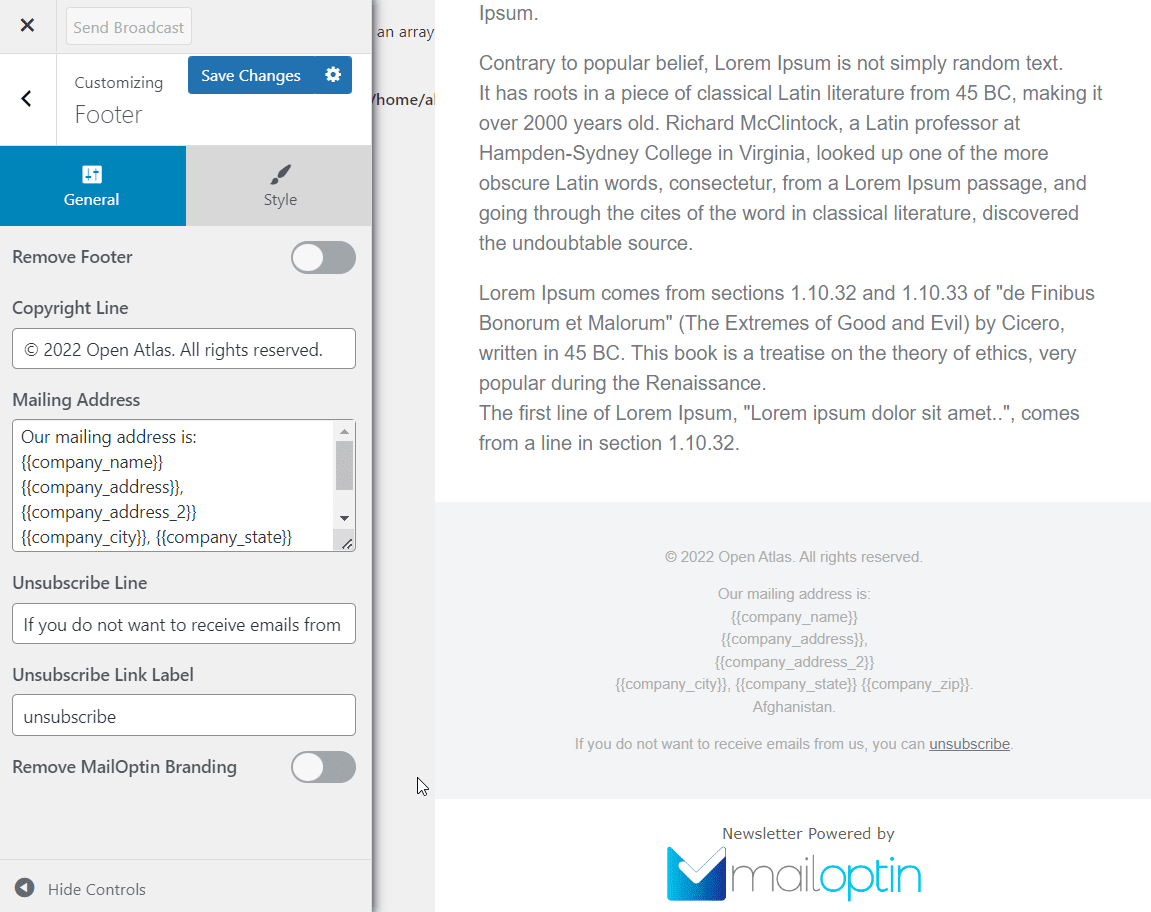
Footer: In the footer, you can show your mailing address and copyright message and add an unsubscription link. You also have the option to remove the MailOptin logo or remove the footer altogether.
Send Test Email: As the name suggests, using this option, you can send a test email to anyone you want.
When you are done designing the email, click on the Save Changes button.
Send Emails to WordPress Registered Users Whenever Your Want
Now that the email template is ready, we will show you how to send the email whenever you want.
Go to MailOptin > Emails > Broadcasts and select the template you just created.
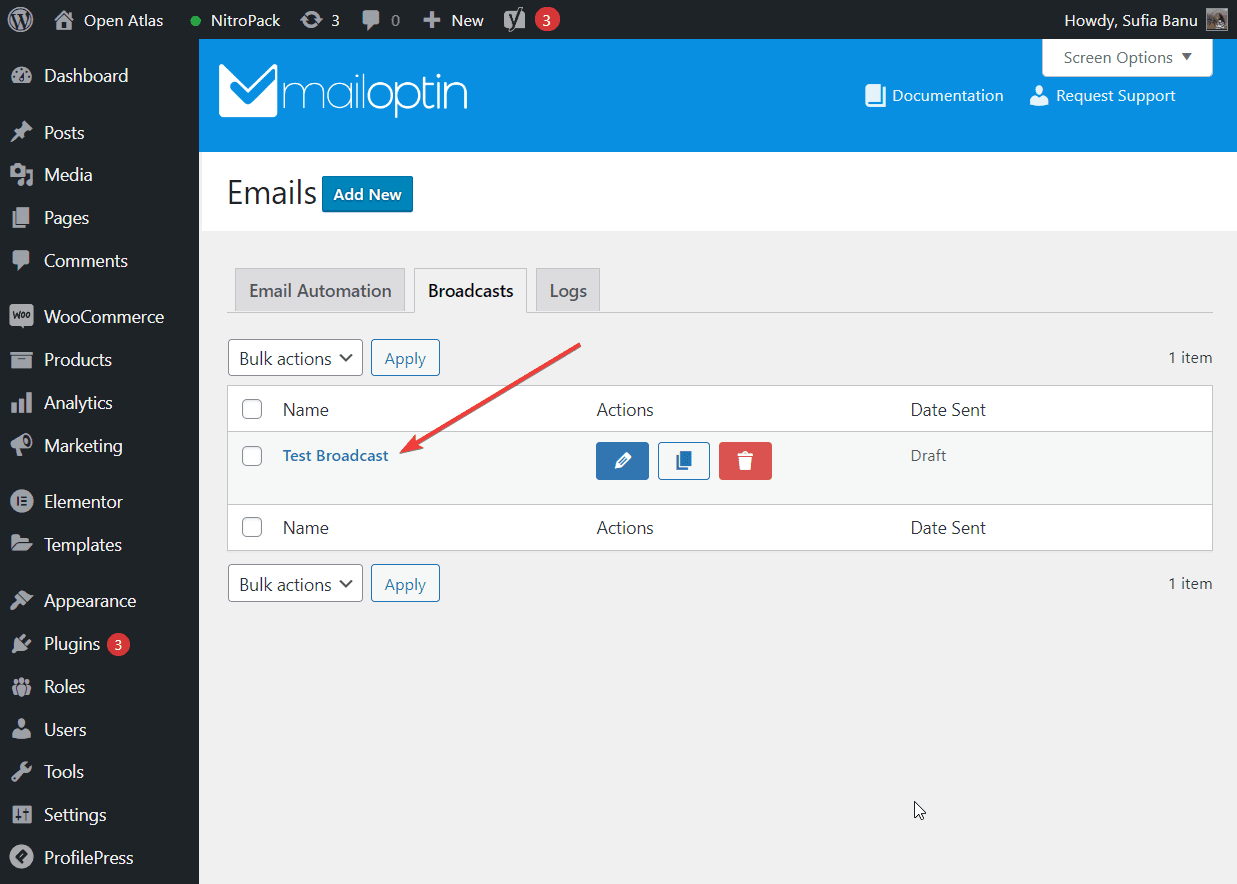
On the next page, you should see a Send Broadcast button on the top left corner of the screen. Click that button to send the email to your WordPress registered users.
Automate Sending Email to WordPress Registered Users
Using MailOptin, you can set up an automated system that’ll send new post alerts to your registered users as soon as you hit the Publish button.
Here’s how you can automate sending emails to your WordPress registered users.
Go to MailOptin > Emails. Select Email Automation and click on the Add New button.
It will take you to a customizer where you will find the same six options: Settings, Body, Header, Content, Footer, and Send Test Email. You’ll be able to recreate the email template from the previous section using these options.
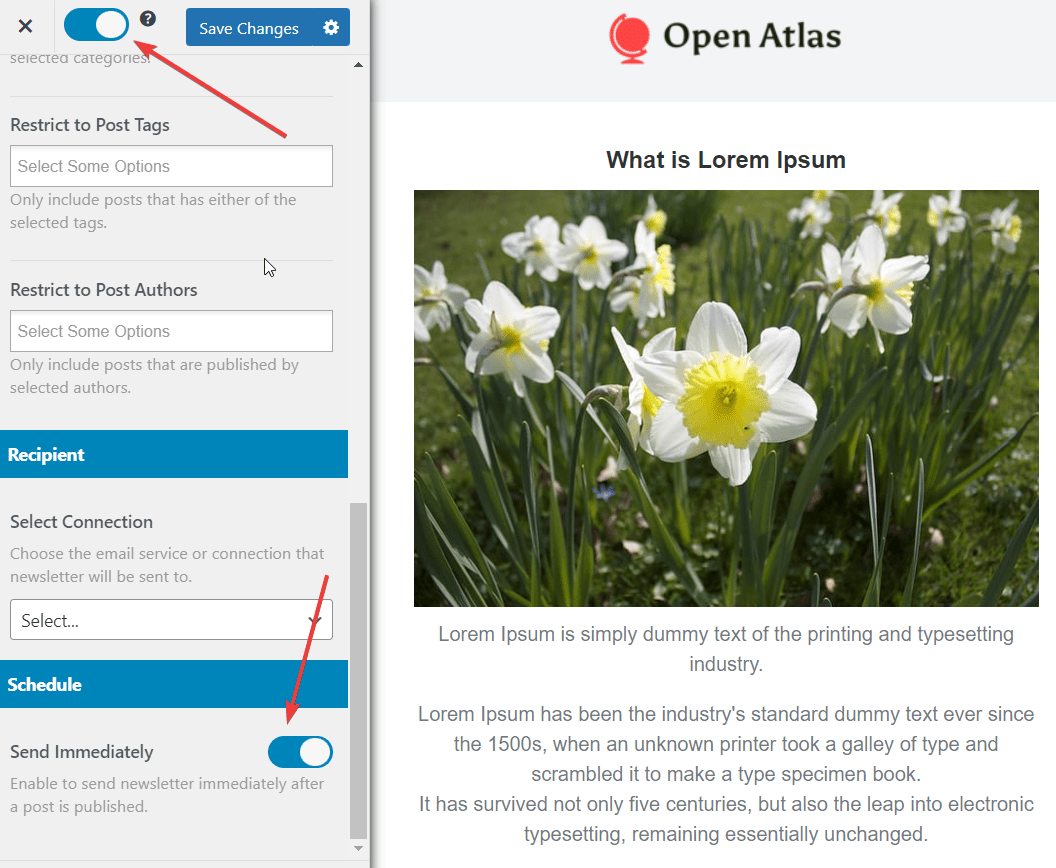
Just make sure that when it comes to Settings, go to the Select Connection option and choose WordPress Registered Users.
Then in the Select Post Type, choose WordPress Posts. That said if you want to send other posts like custom post types, products, Products, or the custom post type.
And finally, toggle on the Sent Immediately option. This will ensure that the emails are sent after a post is published.
Do not forget to activate the email automation by using the toggling switch at the top of the screen, as shown in the image below.
If you need more help setting up automated emails, look at these help docs.
That’s it for this one.
NB: Ensure that emails are working perfectly on your server. If not, you can contact your server administrator to configure it.